How to Create a New Customer in Microsoft Dynamics 365 Business Central
- Kwixand Team

- 1 day ago
- 3 min read
Learn how to create a new customer record in Dynamics 365 Business Central.

Creating a customer record in Microsoft Dynamics 365 Business Central is an essential step in managing your sales process and maintaining accurate customer information. This article walks you through the process of creating a new customer, from selecting a template to entering contact, invoicing, payment, and shipping details.
Before creating a customer, ensure you have the necessary permissions to access and manage customer records in Business Central.
Access the Customers List
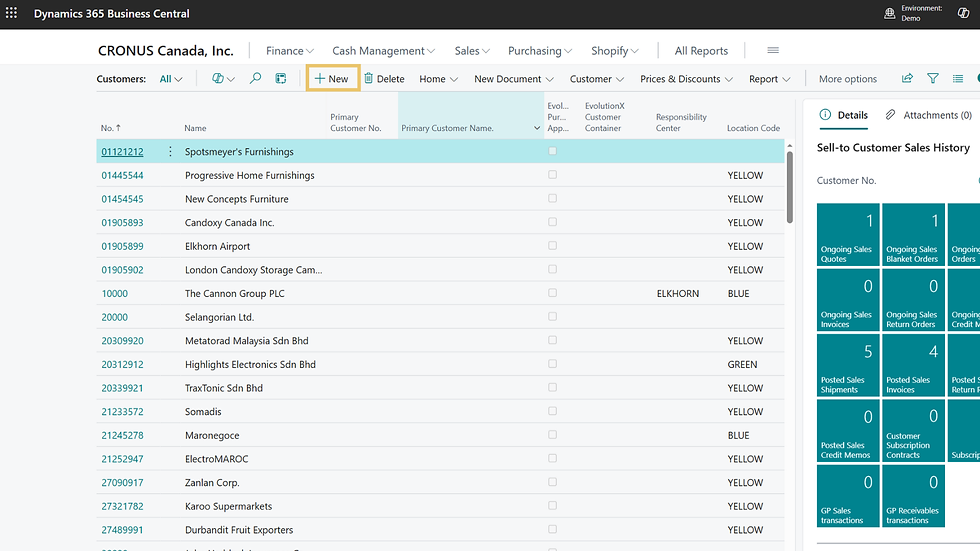
From the Business Central home screen, select Customers from the action bar.

The customers list page will display all existing customer records. Select New to create a new customer record.
In the new window that opens, choose the appropriate customer template and click OK.

Enter Customer Information
Once selected, a new customer card will open with any default values from the template automatically populated. You can enter the customer name here.
If the customer belongs to a parent company that is already in your system, select the Primary Customer Number to link the customer account to the parent account through the drop-down menu.

Complete Contact Information
The Address and Contact information section contains the customer's primary business details. Here you can enter details such as:
Street address
Country/Region Code
City
Postal or ZIP code
Main phone number
Email address
Website URL
Depending on your configuration, selecting a country and city may automatically populate the corresponding postal or ZIP code.

Add a Primary Contact
A customer contact can be associated with the customer record to identify the primary person responsible for communications.
From the Contact Name field, select the ellipsis (...) button to access existing contacts.

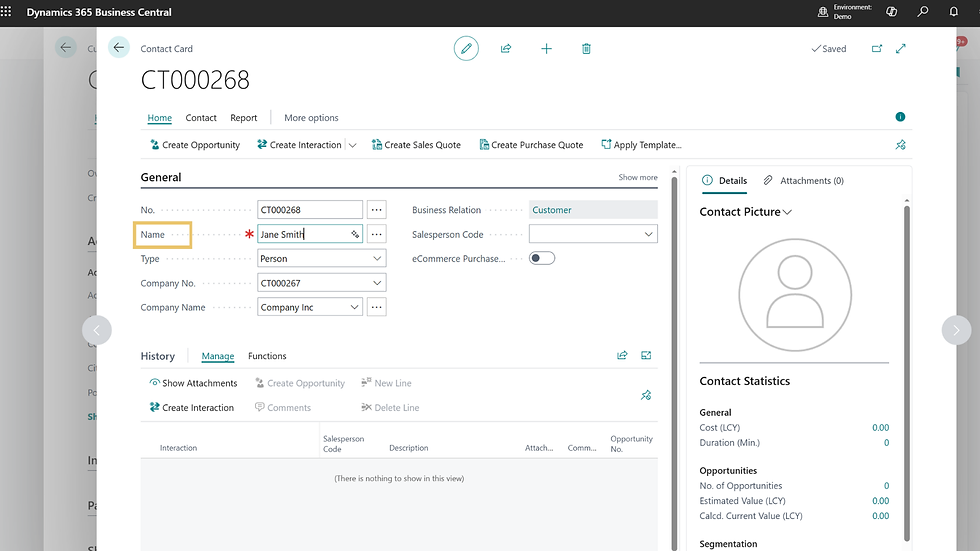
If a contact does not already exist, create a new contact record by selecting New.

Enter the required information here, including:
Contact name
Direct phone number
Email address
Once you've finished entering the details in the Communication section, select the Back Arrow to return to the contacts list.

Once the contact has been created, select it from the contact list in this window and assign it as the primary contact for the customer. Click OK to continue.

You'll see that your selected contact will be listed in your customer card in the Contact field.

Configure Invoicing Information
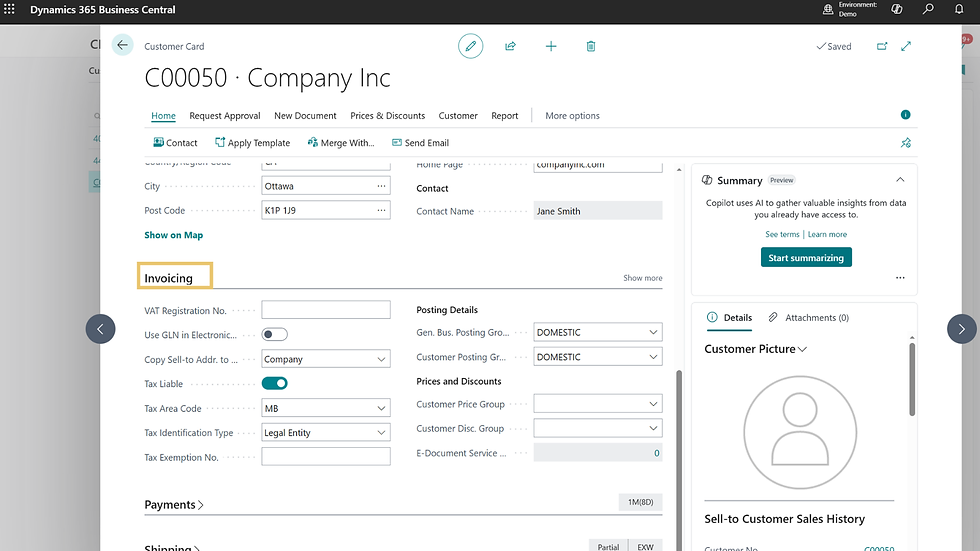
The invoicing section contains customer-specific tax and pricing information.
Complete any applicable fields, including:
VAT Registration Number
Tax Area Code
Tax Exemption Number
Customer Price Group
Customer Discount Group
These settings help ensure invoices are processed correctly and that appropriate pricing and tax rules are applied.
Configure Payment Information
The payment information section controls how financial transactions are handled for the customer.
Enter the appropriate payment settings, such as:
Payment Terms Code
Check Date Format
These values should align with the payment arrangements established with the customer.

Configure Shipping Information
The shipping section contains information used for order fulfillment and delivery processing.
Review and complete the following fields as needed:
Ship-to Code
Location Code
You can also specify whether sales shipments and service shipments should be combined by enabling or disabling the available options.

Review Customer Statistics
At the bottom of the customer card, you'll find the Customer Statistics section.
This area displays important customer metrics and activity information.
Statistics are automatically populated after the customer record has been created and transaction entries exist for that customer.

Save the Customer Record
After all required information has been entered and reviewed, exit the customer card to return to the Customers list. The customer record will be available for use in sales, invoicing, shipping, and other business processes within Business Central.
Training Video: Create a New Customer in Microsoft Dynamics 365 Business Central
Feel free to get in touch with the team at Kwixand Solutions for assistance if you still have questions. Don't forget to subscribe to our YouTube channel for more Business Central training videos, and stay connected with us on LinkedIn, Facebook, and Instagram, for the latest updates.