How to Apply a Combined Customer and Vendor Transaction in D365 Business Central
- Mike Palmieri

- Jul 29, 2025
- 2 min read
Learn how to apply a combined customer and vendor transaction in Microsoft Dynamics 365 Business Central.

In some cases, your customer may also be a vendor, meaning you both buy from and sell to the same entity. When this happens, you might want to offset the receivables (customer balance) against the payables (vendor balance) to simplify your books and reduce unnecessary payments. In this training article, we’ll walk you through how to apply a combined customer and vendor transaction in D365 Business Central.
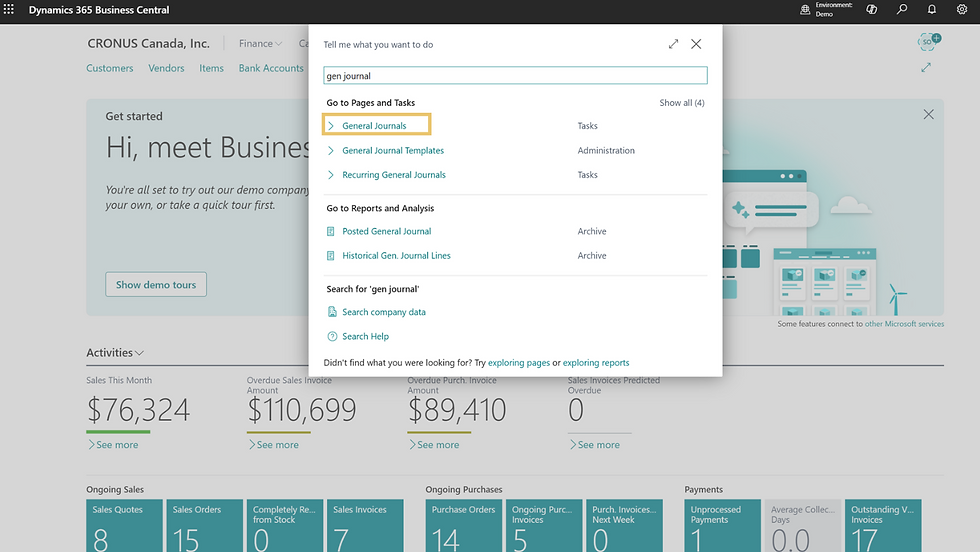
To begin, navigate to the General Journals. You can do this by typing in the search bar.
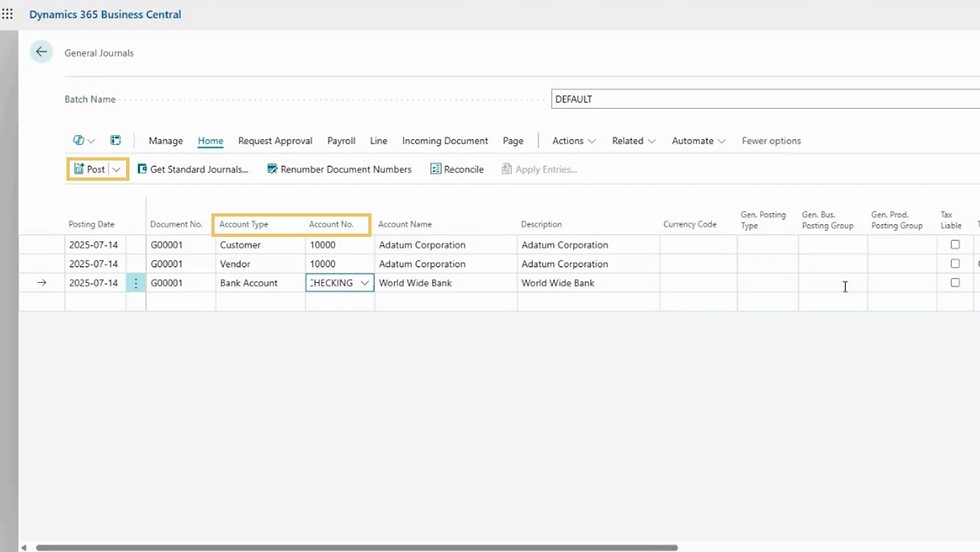
Then create a customer line by adding the following details:
In the Account Type, select Customer.
Choose the appropriate Customer Name
Enter the amount
Select Apply Entries.

This opens a new window, where you can select the specific open invoice(s) for the customer. Then click the Set Applies-to-ID and click OK.
On a new line, create a vendor line by adding the following details:
Select Vendor in the Account Type.
Choose the Vendor Name (ensure the company is both a vendor and customer).
Enter the vendor amount
Select Apply Entries.

This opens a new window, where you can select the specific open invoice(s) for the customer. Then click the Set Applies-to-ID and click OK.

If the journal has a zero balance as the entries were meant to directly offset each other, you would just “Post” the journal.
However, there is no zero balance in this case. To balance the difference here, there are two things you can do.

If you have already paid or received the cash in your bank:
Add a third journal line with Account Type as Bank Account
Set the appropriate Account No.
Enter the amount received
Click Post.
If you still need to receive the cash or pay it out:
Add a third journal line with Account Type as G/L Account
Set the appropriate Account No such as 'Other Payables' or 'Other Receivables'
Enter the amount
Click Post. This parks the amount until the payment is made.

If you navigate back to the customer card, you’ll notice that the invoice is no longer listed as open, it has been successfully applied. Likewise, when you check the vendor card, the corresponding payable is no longer visible, confirming that the transaction has been fully applied on both sides.
Watch the Training Video: How to Apply a Combined Customer and Vendor Transaction in D365 Business Central
Get in touch with the Kwixand Solutions team if you have any questions about customer and vendor transactions or any other Dynamics 365 Business Central related enquiry. For more training videos, check out and subscribe to our Youtube channel.