How to Create and Print Sales Orders in D365 Business Central
- Kwixand Team

- Oct 14, 2025
- 2 min read
Learn how to create and print sales orders in Microsoft Dynamics 365 Business Central.

Creating and printing sales orders in Dynamics 365 Business Central is essential for managing your sales process efficiently. Sales orders help ensure the accurate entry of customer requests, confirmation of inventory availability, and proper documentation for order fulfillment. This training article walks you through each step, from entering customer information to printing the final order confirmation.
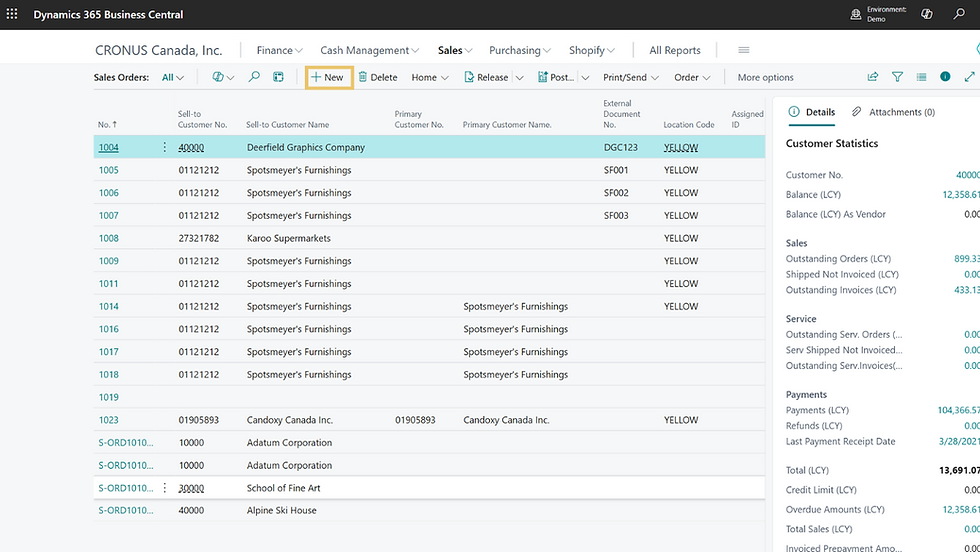
Start a New Sales Order
Navigate to Sales > Sales Order in the main menu bar on the Business Central homepage.

This will take you to the sales order page. To open a new Sales Order Card, select New+
Enter Customer Information
Here you'll fill in the order details. Click the dropdown in the Customer Name field.
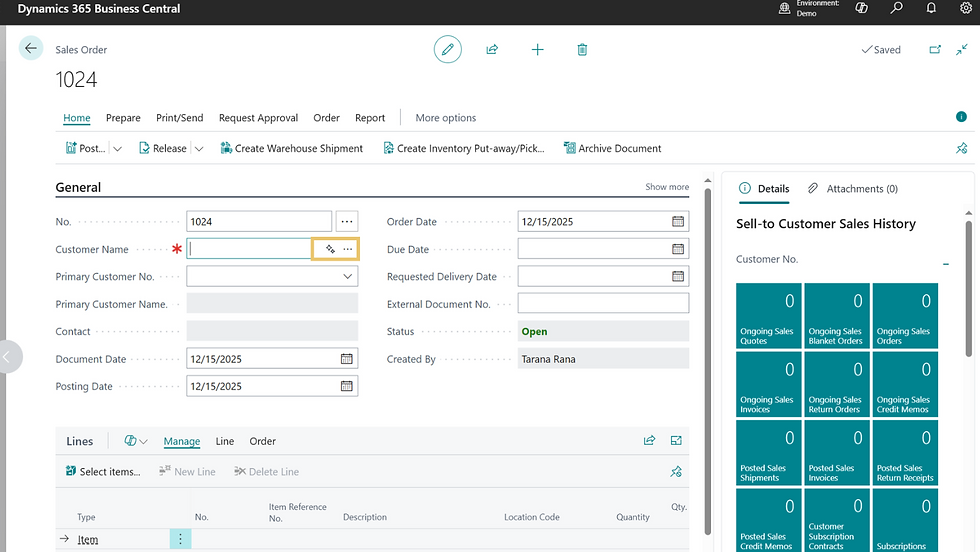
Select the correct customer from the new window and input the matching customer number.

This auto-fills customer details: name, contact, order creator, and default dates (document, posting, order, and due date).

Add Sales Order Lines
Once you have entered all of the customer information and dates, you will need to enter the lines of the sales order. Choose a line type (for this example,we will choose Item).

Click into the next field to select an item number from the drop-down menu.

The item’s description and location code will populate automatically.

Then enter the item quantity. If quantity entered exceeds available stock, a notice will appear on the top of the screen. Also, the subtotals and totals will update automatically.

Then, add the Tax Group Code to apply VAT.

The system will calculate and display the VAT amount and the total including VAT in the fields below.

You can add more items by repeating the previous steps or change the line type to include other types of charges. For example, you can use resources to include charges for training or setup in terms of hours.

Apply Discounts
To apply a discount, you can either enter a custom percentage below the order lines. To add a preset discount, navigate to Actions > Functions > Calculate Invoice Discount.

In the pop-up window, click Yes. The discount will appear in the Invoice Discount field and update the total amount.

Add Additional Notes
If you want to add any notes to the order, scroll back up to the top of the card and select Show More.

At the bottom, you'll find the Work Description box where you may enter any additional details or internal notes.

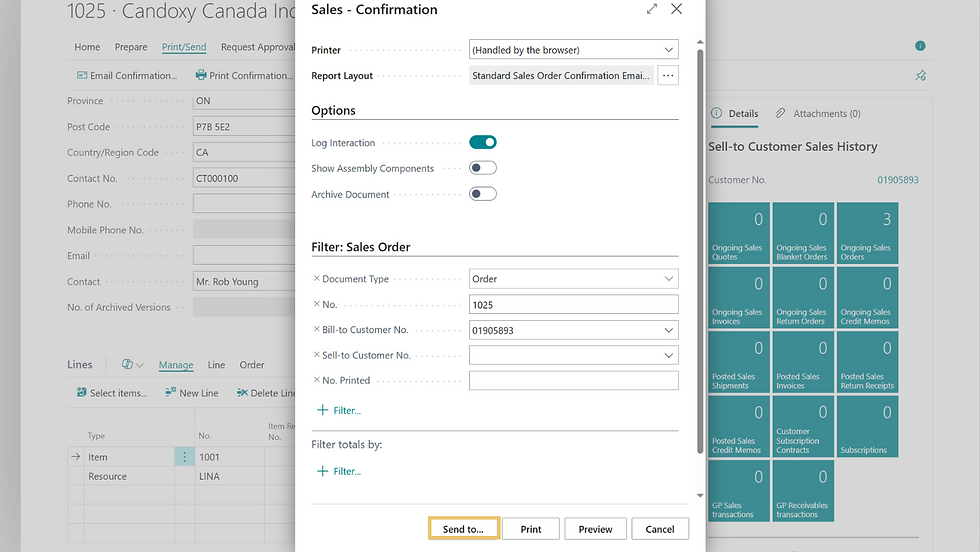
Print the Sales Order
To print the sales order, click the Print/Send button on the sales order menu and select Print Confirmation.

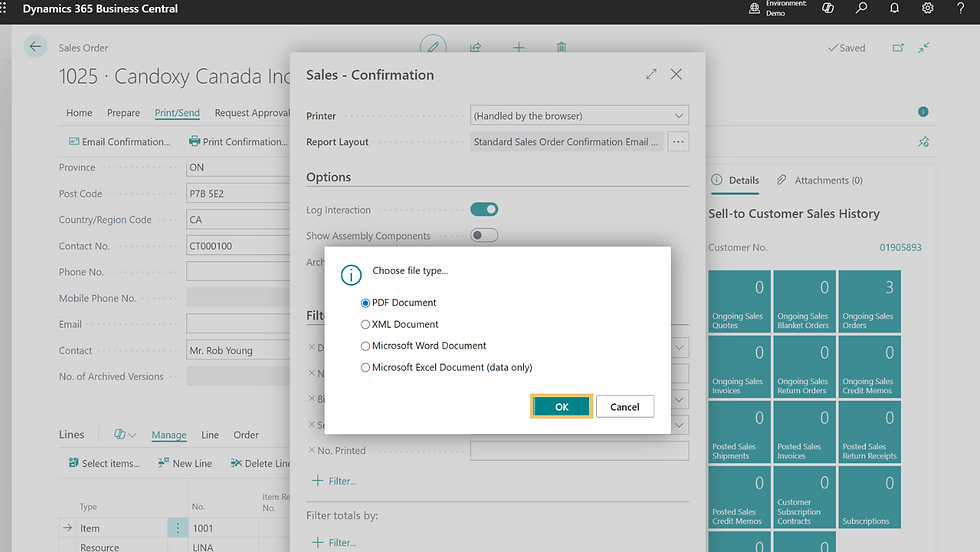
Click Send To to choose your preferred file format (e.g., PDF).
Selecting the file type you would like to print the sales order confirmation to will automatically download the document in the chosen format.
Training Video: Create and Print Sales Orders in Dynamics 365 Business Central
Having trouble creating a sales order or have other questions around Business Central? Feel free to get in touch with the team at Kwixand Solutions for assistance. Don't forget to subscribe to our YouTube channel for more Business Central training videos, and stay connected with us on LinkedIn, Facebook, Instagram, or Twitter for the latest updates.